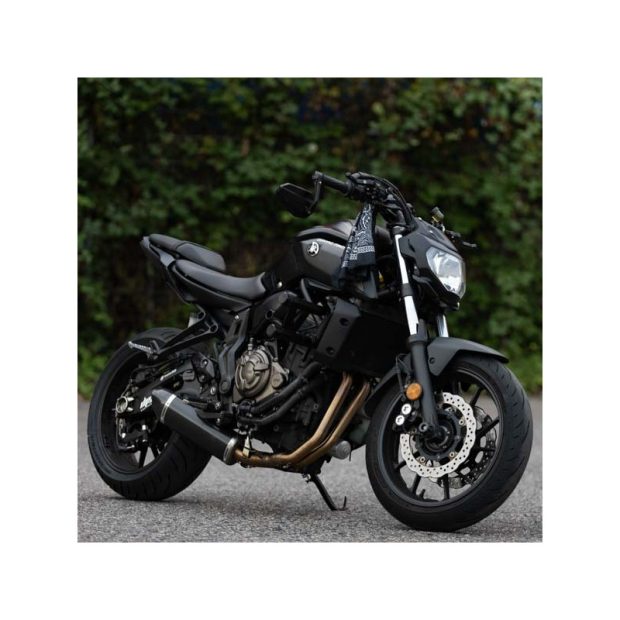
The BMW F800GS is built to handle sun, dust, rain, and long miles of adventure riding, but its headlight lens takes a beating in the process. Over time, the polycarbonate lens that protects the headlight bulb can become cloudy, yellowed, or hazy, robbing the bike of both its good looks and its nighttime visibility. Restoration is almost always cheaper than replacement, and with the right materials and technique, you can bring a foggy lens back to near-original clarity in an afternoon.
Why the Lens Clouds Over
Factory motorcycle F800GS headlight lenses are made of polycarbonate plastic rather than glass because it is lightweight and resistant to impact. The trade-off is that polycarbonate is vulnerable to ultraviolet radiation. Manufacturers apply a thin protective clear coat to the lens, but that coating breaks down over years of sun exposure. Once it fails, the plastic beneath begins to oxidize, producing the yellow or milky haze that F800GS owners commonly notice. Road debris, bug splatter, and harsh cleaning chemicals accelerate the process. The oxidation does more than look bad: it scatters light instead of transmitting it, which reduces how far you can see at night and makes the bike harder for other drivers to spot.
Assessing Whether Restoration Is Worthwhile
Before starting, inspect the lens carefully. Restoration works well on lenses that are cloudy, yellowed, or lightly scratched on the surface. It is not a cure for cracks, deep gouges, or moisture inside the housing. If water is pooling behind the lens, the seal has failed and the assembly likely needs to be replaced or resealed first. Similarly, if the chrome reflector inside the housing has burned or peeled, a new assembly is the only real fix. For the majority of F800GS bikes with simple surface oxidation, however, restoration delivers excellent results for a fraction of the cost of a new headlight.
The Restoration Process
Begin by washing the lens with mild soap and water to remove dirt and bug residue. Mask the surrounding fairing and painted surfaces with painter’s tape so you do not accidentally sand them. The core of the job is wet-sanding: start with around 600-grit sandpaper and work progressively through 800, 1500, 2000, and ideally 3000 grit. Keep the paper wet at all times and sand in alternating directions between grits so you can see when the previous scratches are gone. The lens will look uniformly frosty when you are finished sanding, which is normal.
Next, polish the lens with a plastic polishing compound applied using a foam pad on a drill or dual-action polisher. Work in small sections at moderate speed, keeping the pad moving to avoid burning the plastic. The lens should turn clear and glossy as the polish removes the fine sanding marks. Finally, and most importantly, apply a UV-blocking sealant or clear coat designed specifically for headlights. Without this step, the freshly exposed plastic will re-oxidize within months, especially in sunny climates. Some owners use a ceramic coating, while others prefer a dedicated headlight clear coat applied in thin, even layers.
Protecting the Result
Once restored, maintain the lens by washing it regularly and reapplying a UV protectant every few months. Parking under cover or using a bike cover when possible will also slow the oxidation process. With proper care, a restored F800GS headlight can stay clear for years, keeping the bike looking sharp and lighting the road ahead the way it should.