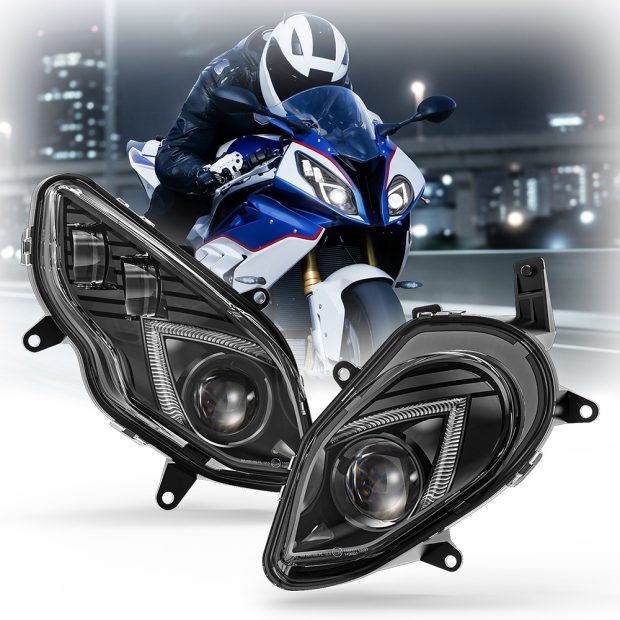
Replacing the headlight bulbs on a 2018 BMW S1000RR is one of the more accessible maintenance tasks an owner can perform, provided you understand the asymmetric layout and take care not to contaminate the new glass. The 2018 model retains the classic split-face design, with the low beam on the left and the high beam on the right, both using H7 12V 55W halogen bulbs . Because the bike’s CANbus system monitors bulb current draw, choosing the right replacement is as important as the installation itself.
Before You Begin
Gather the essentials: a pair of clean, dry cloths or gloves, the replacement H7 bulbs, and a screwdriver for the parking light retainers if you plan to address those as well. Park the motorcycle on a level, firm surface and place it on its stand. Switch off the ignition completely before touching any electrical component . This last step is not merely a safety precaution—performing bulb changes with the ignition on can confuse the CANbus monitoring system and trigger persistent warning messages on the dash.
Accessing the Bulbs
Access to the BMW S1000RR headlight bulbs is gained from behind the front fairing, not by removing the lens. Remove the plastic protective covers located at the top rear of the headlight housing; there is one cover for the low beam side and another for the high beam side . Once the cover is off, the bulb holder and its retaining mechanism are exposed.
Removing the Old Bulb
The H7 bulb in the 2018 S1000RR is secured by a spring wire clip. Disengage the clip from its fastenings on both sides and swing it aside . With the clip released, unplug the electrical connector from the back of the bulb, then carefully withdraw the bulb from the housing. Avoid twisting or forcing the bulb—H7 bulbs seat directly into the reflector and are held only by the spring clip and the connector friction.
Installing the New Bulb
This is where most mistakes happen. Never touch the glass envelope of a new halogen bulb with bare fingers. Oils and salts from your skin deposit on the quartz glass and interfere with heat radiation, causing localized overheating that dramatically shortens bulb life—sometimes to just a few hours of use . Hold the new bulb by its metal base using a clean, dry cloth. Insert it into the housing, engaging the locating tab first, then press it fully into the socket . Reconnect the electrical plug, then swing the spring wire clip back into its fastenings and secure it on both sides . Finally, refit the plastic protective cover, ensuring it seats correctly to prevent moisture ingress.
Parking Light Bulbs
While you have the covers off, it is worth checking the parking light bulbs. These are W5W 12V 5W units . Access requires pushing down the retainer (a screwdriver may help) and pulling the socket out of the headlight housing. Remove the old bulb from the socket, insert the new one by positioning its tab correctly, and push the socket back in until the retainer clicks . The same clean-cloth rule applies.
A Note on LED Upgrades
Many owners consider upgrading to LED bulbs for improved brightness. While H7 LED kits are widely marketed as compatible with the 2018 S1000RR , the lower current draw of LEDs frequently triggers a LAMP warning on the dashboard because the CANbus interprets the reduced load as a failed bulb. If you choose this route, select a kit explicitly advertised as error-free or CANbus-compatible for BMW, or be prepared to fit inline load resistors. For riders who prioritize reliability and plug-and-play simplicity, a quality halogen replacement remains the safest choice.